13th November 2021
Create a Config Page - Part 4
Learn how to create a simple configuration form for your custom Drupal module
By
Ben Lamptey
2nd November 2021
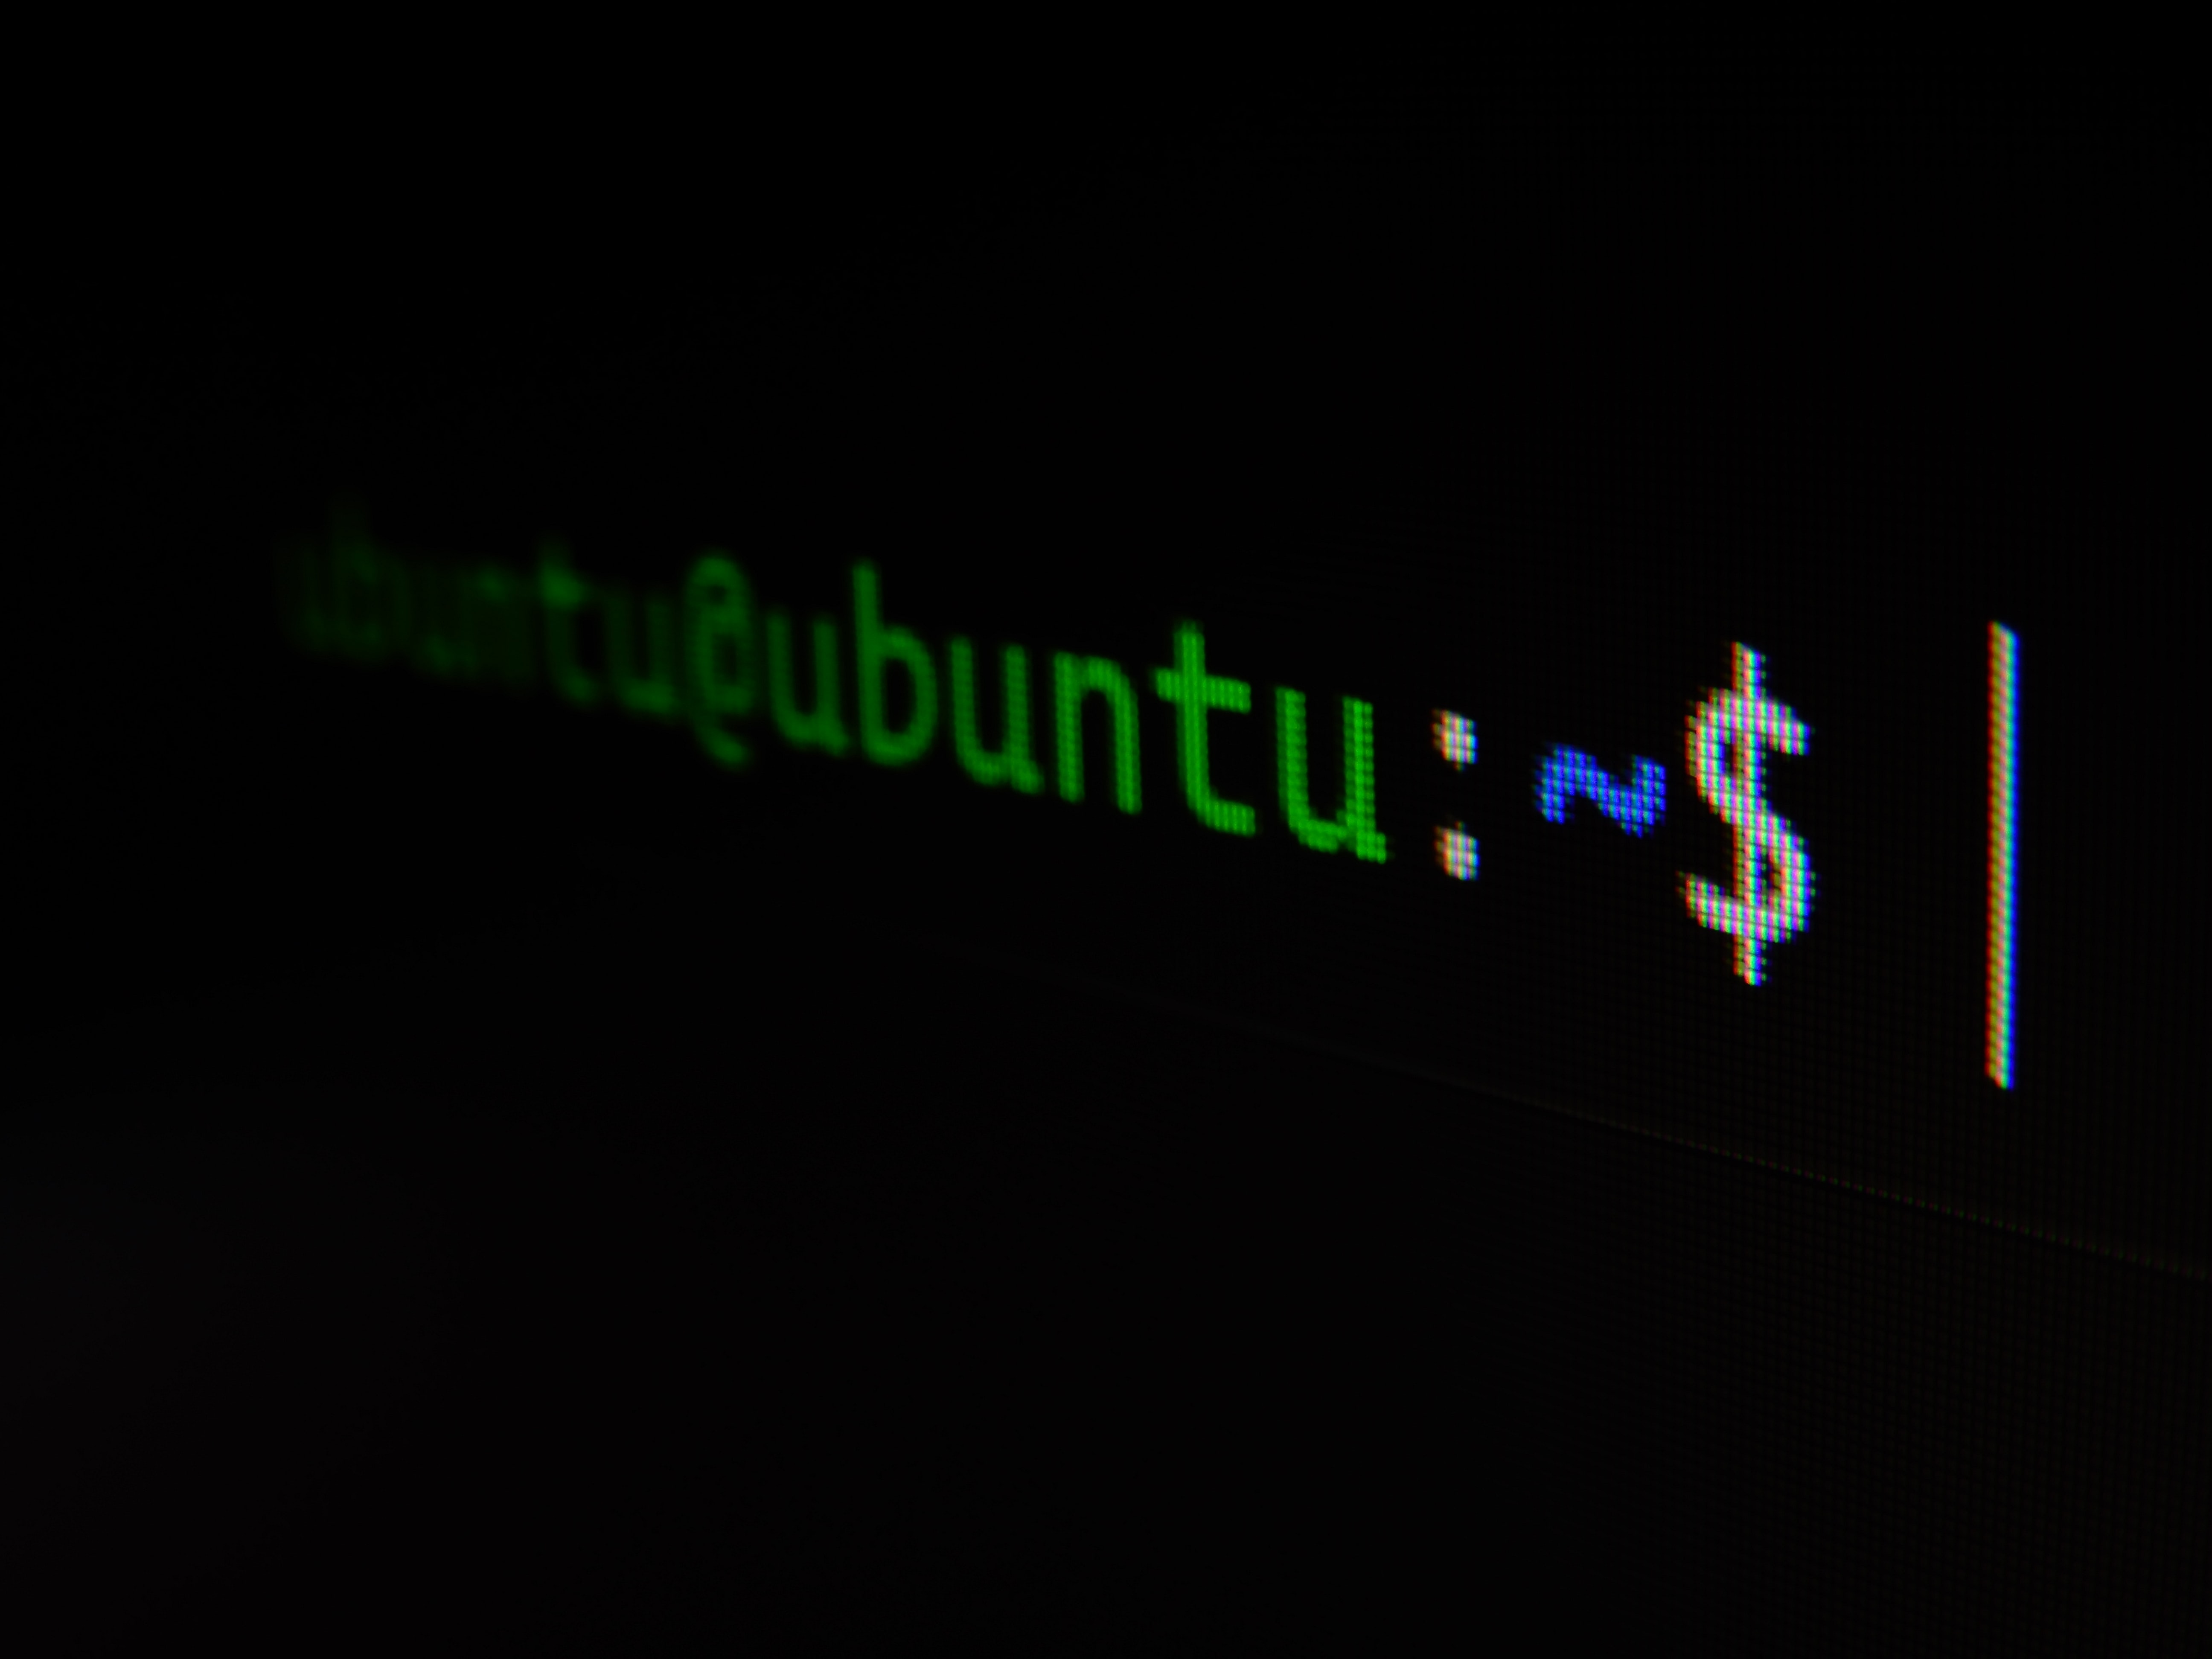
Display output in terminal from hook_update_N.
Every now and then we find ourselves needing to make a big update to entities within our sites. We could write code and run this using our browser using the Batch API, however, if it's just a one-off, then using the hook_update_N would suffice.
By
Ben Lamptey

31st August 2021
How to create a user programmatically in Drupal 8 and 9
This tutorial will show you how easy it is to create a user.
By
Ben Lamptey

26th August 2021
How to get current URL - Drupal 8 & 9
Neat little code snippet to get the full URL of any Drupal (v8 & v9) page.
By
Ben Lamptey
3rd April 2021
Drupal 9 Course: Create a Custom Page - Part 2 - [2021]
We will start off by creating a custom page, later on, this custom page will display a list of movies from the movie API.
By
Ben Lamptey
1st April 2021
Drupal 9 Course: Create & Enable Custom Module - [Part 1]
We will be creating the bare skeletons needed to enable a custom module
By
Ben Lamptey